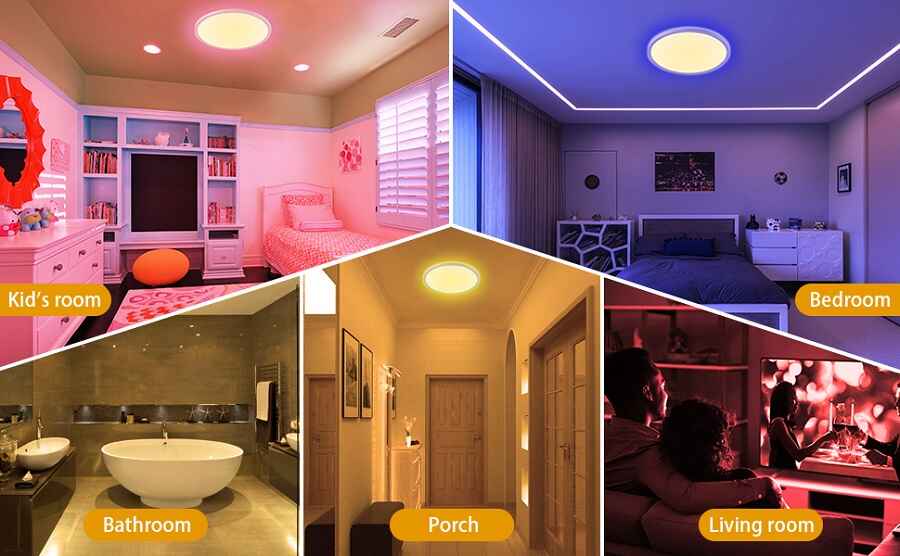
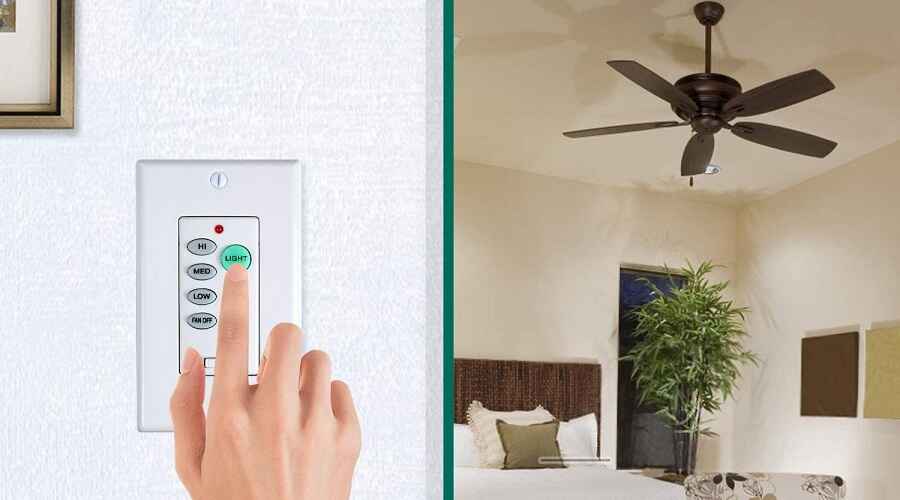
Are you planning to install LED lights in a ceiling? Well, it is not a big deal if you know something about the wiring,fan and ceiling, let me tell you that Low-profile LED lights are a great solution for adding modern and energy-efficient lighting to your home (Believe me it looks pretty awesome too) without taking up much space. In this blog post, we will provide a step-by-step guide on how to install low-profile LED lights, including the tools and materials you will need, how to prepare for installation, and tips for troubleshooting.
How to Install Ceiling LED Lights? Step by Step Process
Low-profile LED lights are perfect for areas where space is limited, such as hallways, closets, and under cabinets. They are also highly energy-efficient, making them a great option for those who are environmentally conscious and want to save money on their energy bills.
Installing low-profile LED lights may seem like a daunting task, but with the right tools and instructions, it can be a quick and easy DIY project.
Tools and Materials:
Before you start the installation process, it’s essential to gather all the necessary tools and materials. Here’s what you’ll need:
- Low-profile LED lights
- Power drill
- Drill bits
- Measuring tape
- Pencil
- Screwdriver
- Wire stripper
- Wire connectors
- Electrical tape
- Safety glasses
Make sure to have all the tools and materials readily available before you start the installation process.
Preparation for Installation:
Once you have gathered all the tools and materials, it’s time to prepare for installation. Here’s what you need to do:
- Turn off the power supply to the area where you will be installing the lights.
- Measure and mark where you want to install the lights using a measuring tape and pencil.
- Double-check the measurements and make any necessary adjustments.
- Drill pilot holes where you marked the measurements using the appropriate drill bit.
- Check that the holes are level before proceeding.
Installing the Lights:
Now that you have prepared for installation, it’s time to install the lights. Follow these steps:
- Feed the wires through the back of the low-profile LED light.
- Insert the light into the hole you drilled and secure it in place with screws.
- Connect the wires from the light to the wires in the electrical box using wire connectors.
- Use electrical tape to secure the wire connectors.
- Turn the power supply back on and test the lights.
Troubleshooting Tips:
If you encounter any issues during the installation process, here are some troubleshooting tips:
- If the light doesn’t turn on, double-check that it’s connected correctly to the power supply and that the power supply is turned on.
- If the light flickers, it may be due to loose connections. Check the connections and tighten any loose screws or wire connectors.
- If the light emits a buzzing sound, it may be due to a faulty transformer. Contact the manufacturer for a replacement.
Conclusion:
Low-profile LED lights are a great way to add modern and energy-efficient lighting to your home without taking up much space. With the step-by-step guide and tips provided in this blog post, installing low-profile LED lights can be a quick and easy DIY project. Just remember to gather all the necessary tools and materials, prepare for installation, and follow the installation steps carefully. Happy installing!


0 Comments