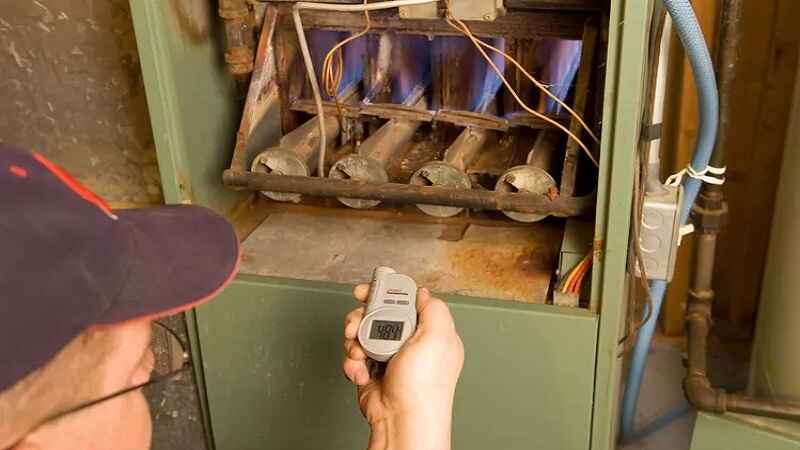
A flame sensor is an important component in any gas furnace or boiler. Its function is to detect the presence of a flame, and to turn off the gas supply if the flame is not present. This prevents the buildup of dangerous gases, and ensures that the furnace or boiler is operating safely.
However, a flame sensor can become dirty or clogged over time, which can cause it to malfunction. In this article, we will show you how to clean a flame sensor in order to keep your furnace or boiler running safely and efficiently.
To clean the flame sensor, begin by turning off the power to the furnace and shutting off the gas supply. Next, locate the flame sensor, which can typically be found in the burner assembly or near the ignition system. Carefully remove the sensor from its mount and use a small brush or toothbrush to gently scrub away any carbon, dust, or dirt buildup. Use a small amount of rubbing alcohol on a cloth to clean the sensor if necessary.
Once the sensor is clean, carefully reattach it to the mount and turn the power and gas supply back on. Test the furnace to ensure it is functioning properly.
To further prevent debris buildup, it is recommended to install a high-efficiency air filter in the furnace and regularly replace it to keep the air in the home clean. Additionally, be sure to keep the area around the furnace free of debris and dust.
It’s important to note that if the flame sensor is showing signs of damage, such as rust or discoloration, it should be replaced rather than cleaned. A damaged flame sensor can lead to a malfunctioning furnace and can even be a safety hazard.

Tools and Materials Needed
Before you begin, you will need the following tools and materials:
- A small wire brush
- A can of compressed air
- A multimeter
- A screwdriver
- Tester
What are the Steps to Clean A Flame?
Step 1: Locate the Flame Sensor
The first step in cleaning a flame sensor is to locate it. In most cases, the flame sensor will be located near the burners of your furnace or boiler. It will typically be a small metal rod, about the size of a pencil, with a wire coming out of it.
Step 2: Turn off the Power
Before you begin cleaning the flame sensor, it is important to turn off the power to your furnace or boiler. This can typically be done by turning off the circuit breaker or removing the fuse.
Step 3: Clean the Flame Sensor
Use the small wire brush to gently scrub away any dirt or debris that may have accumulated on the flame sensor. Be sure to use a light touch, as you do not want to damage the sensor.
Next, use the can of compressed air to blow away any remaining debris. Hold the can of air about 6 inches away from the sensor, and hold the nozzle directly over the sensor.
Step 4: Test the Flame Sensor
After cleaning the flame sensor, it is important to test it to ensure that it is working properly. This can be done using a multimeter. Simply set the multimeter to the “continuity” setting, and touch one probe to the flame sensor and the other probe to a ground. If the multimeter beeps or shows a reading, the flame sensor is working properly.
Step 5: Reassemble and Turn on Power
Once you have verified that the flame sensor is working properly, reassemble the furnace or boiler. Then, turn on the power to the furnace or boiler.
By following these simple steps, you can keep your furnace or boiler running safely and efficiently by regularly cleaning the flame sensor.
Conclusion:
A flame sensor is an important component of any gas furnace or boiler, and it is crucial to keep it clean in order to ensure safe and efficient operation. By following the steps outlined in this article, you can easily clean your flame sensor and keep your furnace or boiler running smoothly.


0 Comments